[
Previous
]
[
Next
]
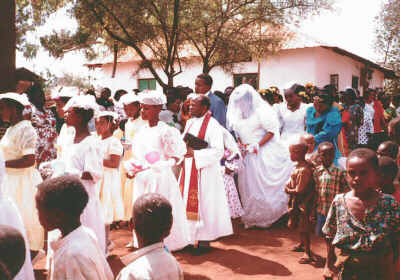
Photo #6
Back to Bermi